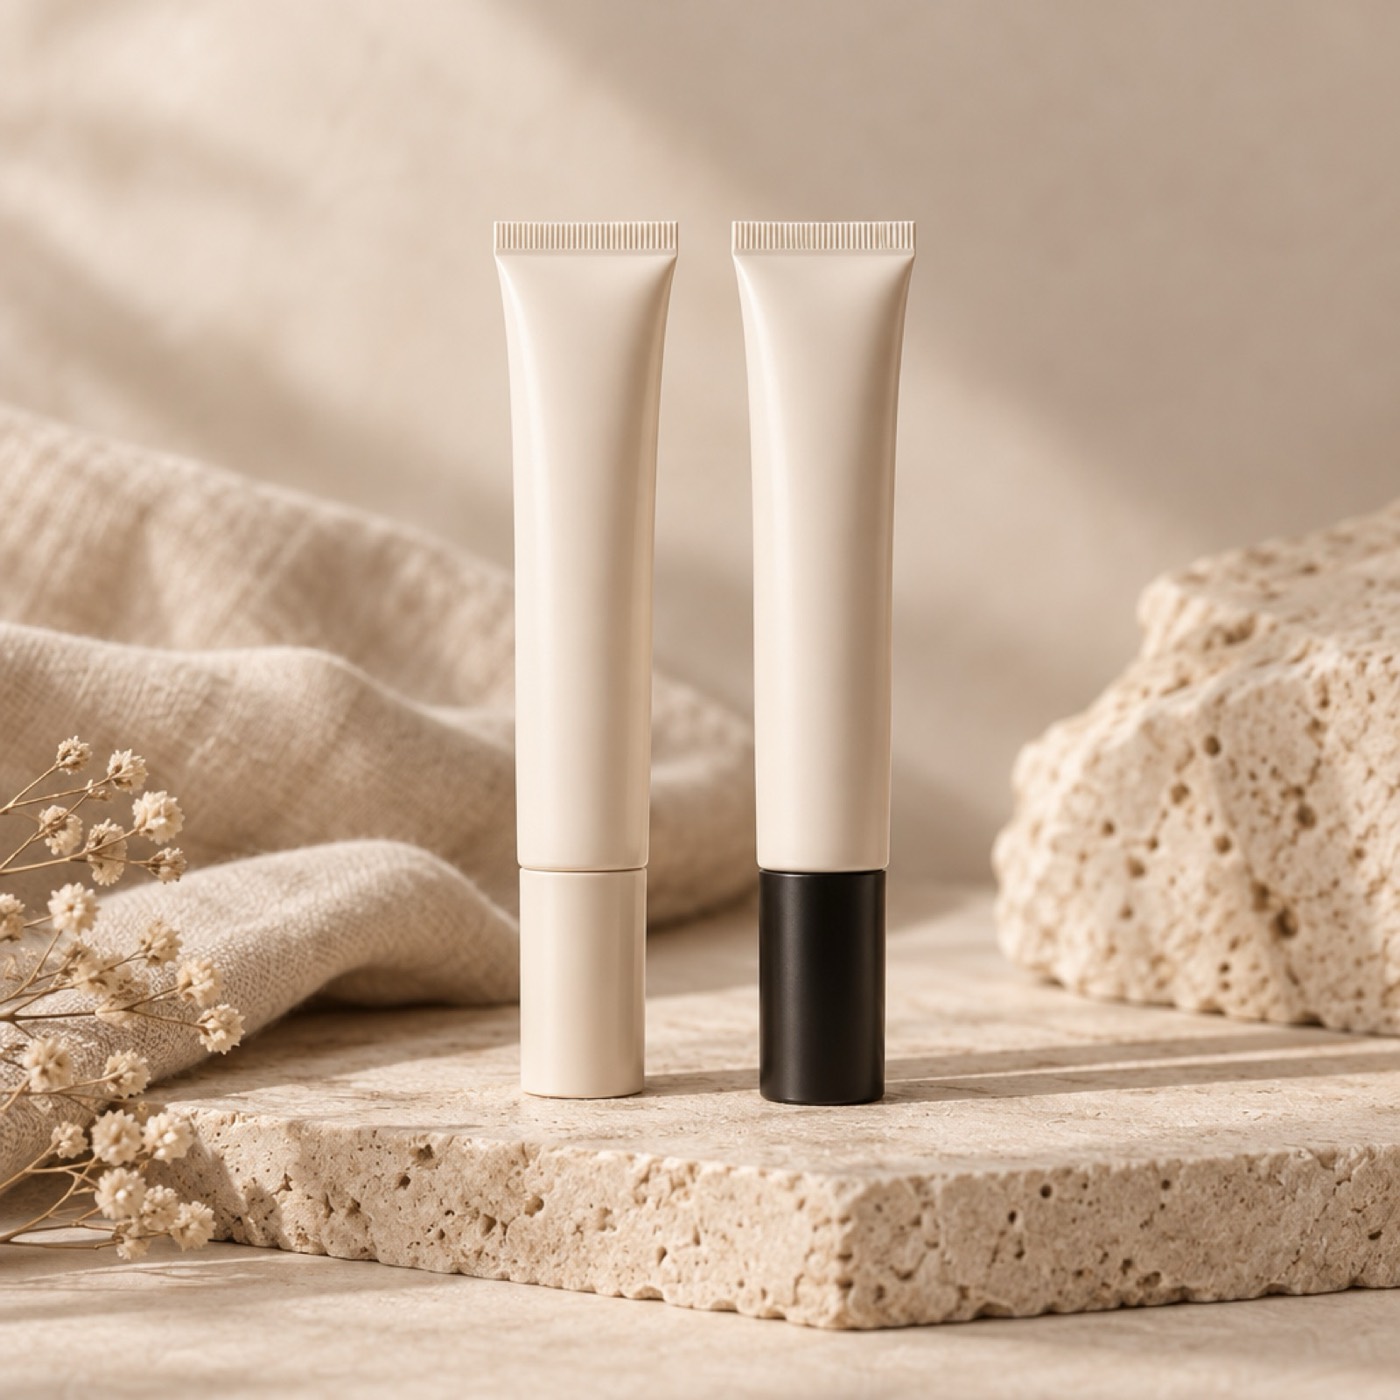
A DIY lash kit can look like excellent value at first glance. Yet the most practical set is not necessarily the one with the longest list of included items.
Start with the kit contents
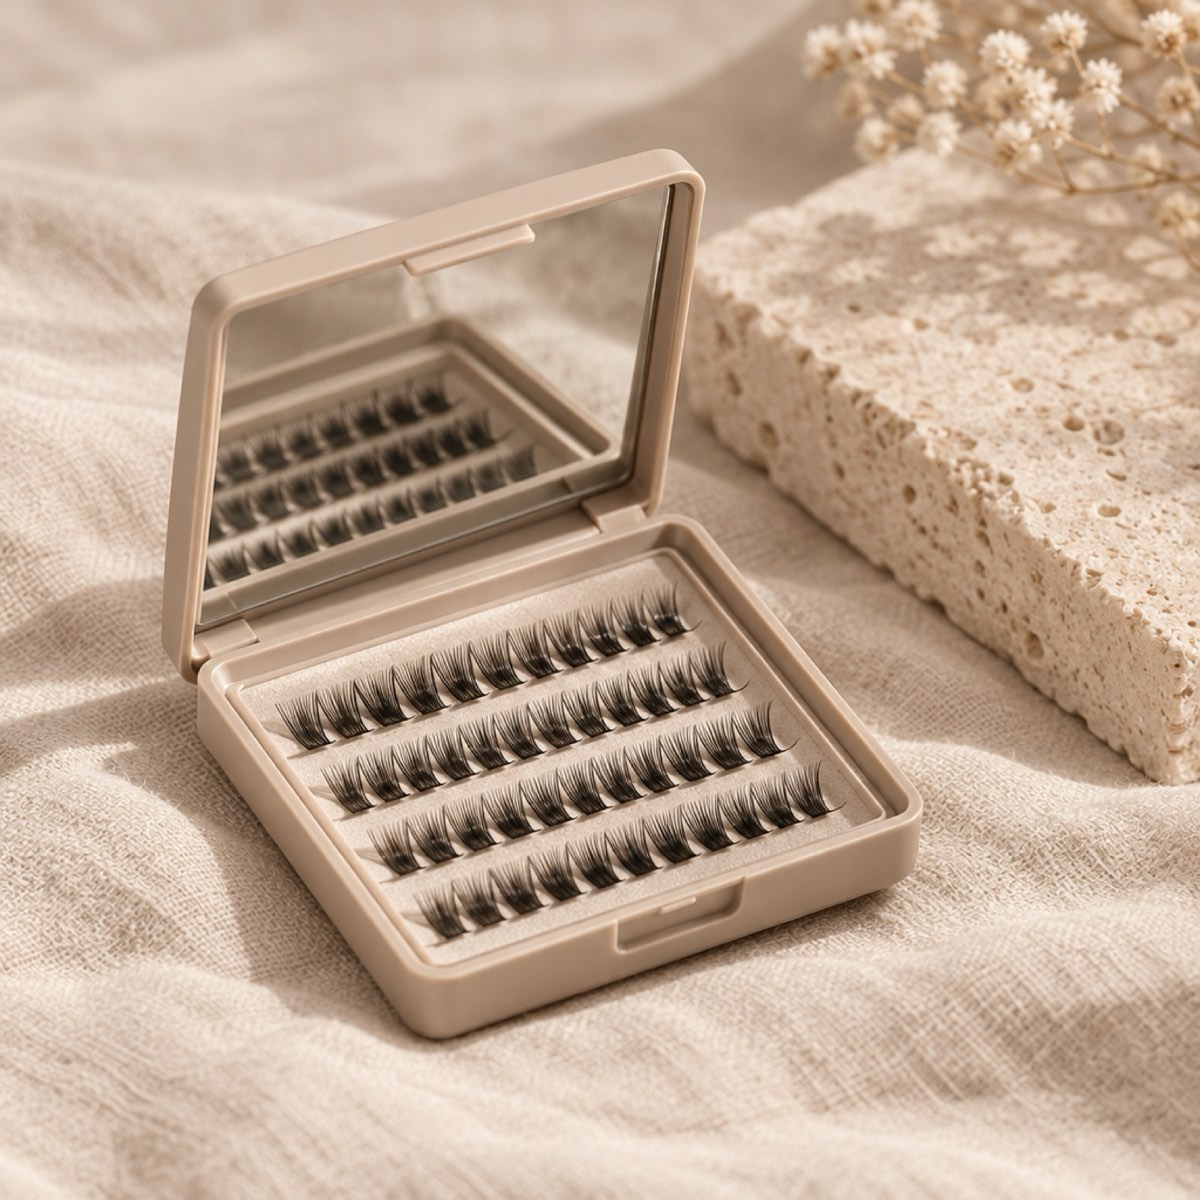
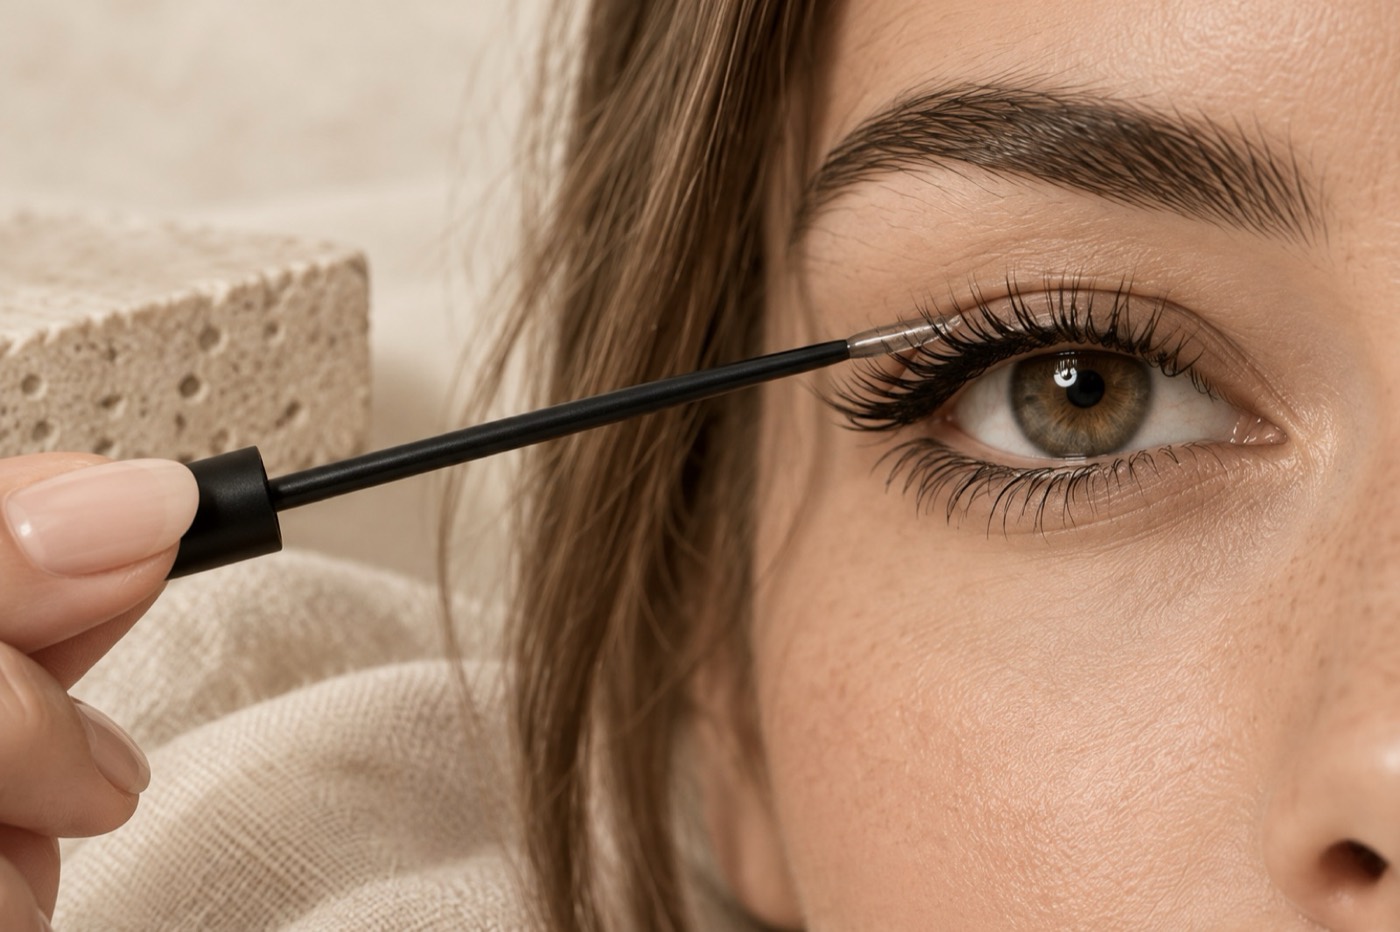
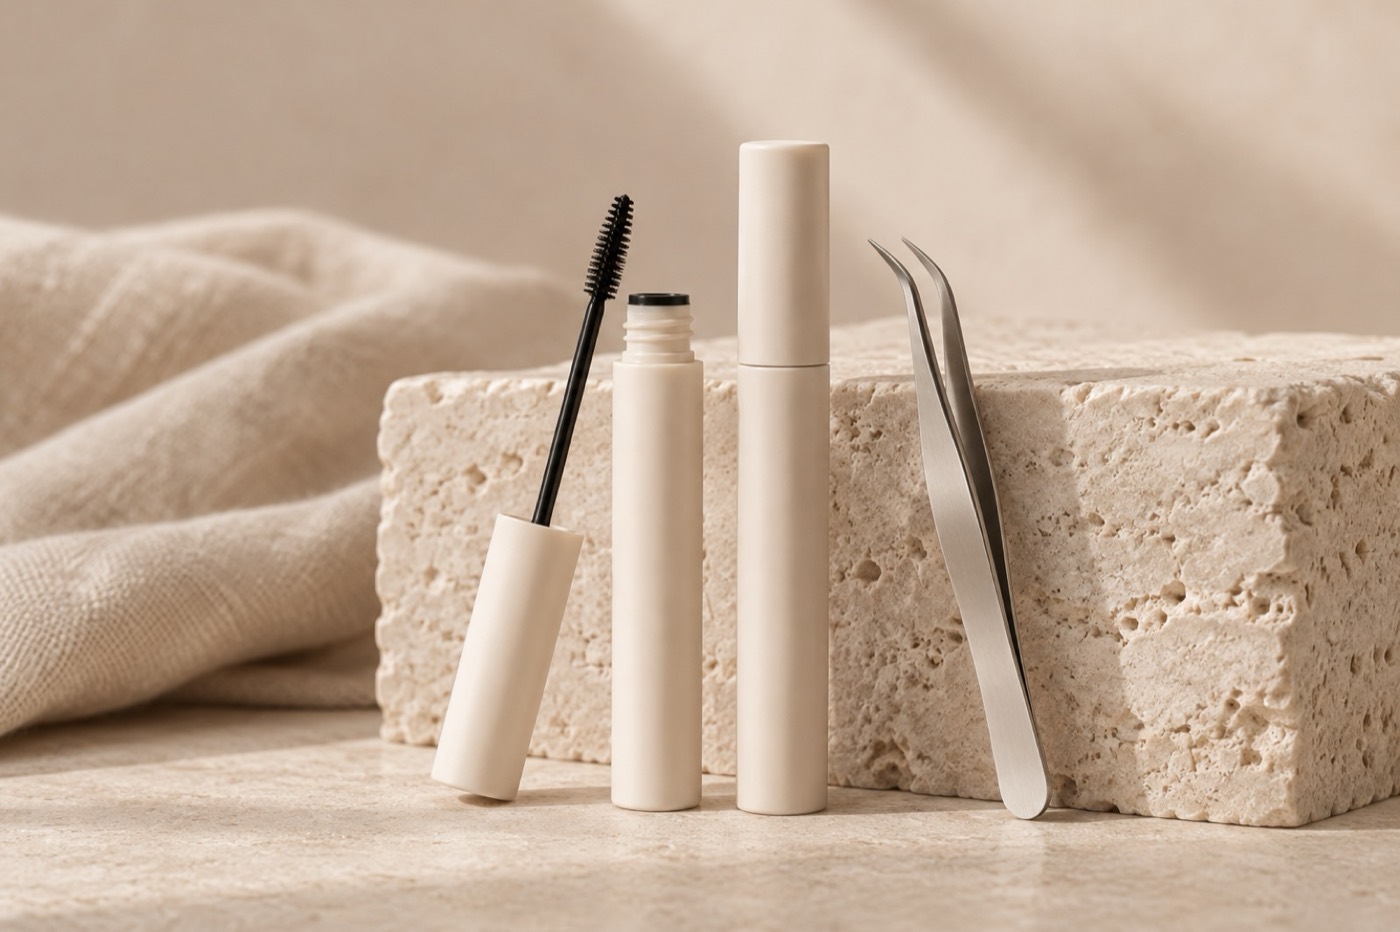
A large piece count does not automatically make a kit more useful. Look for the number of usable lash styles, included lengths, applicator shape, bond and seal, and whether a remover is part of the package.
Consider the styles you will actually wear
Mixed lengths can help you practice a natural map. If the tray contains mostly very dense or very long clusters, it may be less versatile for everyday wear. Think about your preferred result before comparing prices. For more context, a comparison of at-home lash kit essentials can help readers explore related products and techniques without turning the routine into a long shopping list.
Read the instructions before ordering
Clear, accessible application and removal instructions are especially important for a first kit. Avoid combining one brand’s adhesive with another product’s directions unless the makers explicitly confirm compatibility.
Examples you may encounter
Pawotence 280-Piece Lash Extension Kit and RITALASH 640-Piece Beginner Kit are examples of multi-item kit listings. Product quantities, included accessories, and availability can change, so confirm the current Amazon product details rather than relying on an old roundup.
Price the whole routine
A kit without remover may require another purchase. Replacement lash trays and adhesive can also affect the ongoing cost. A simple checklist of what is included often reveals more than a headline discount.
Final thoughts
A thoughtfully selected starter kit should make the routine easier to understand, not simply give you more products to sort through.