How to apply
Simple Steps
for a Flawless Look
Follow these easy steps to apply your lash clusters at home. With the right tools and a little practice, you will have a beautiful, long-lasting look in minutes.
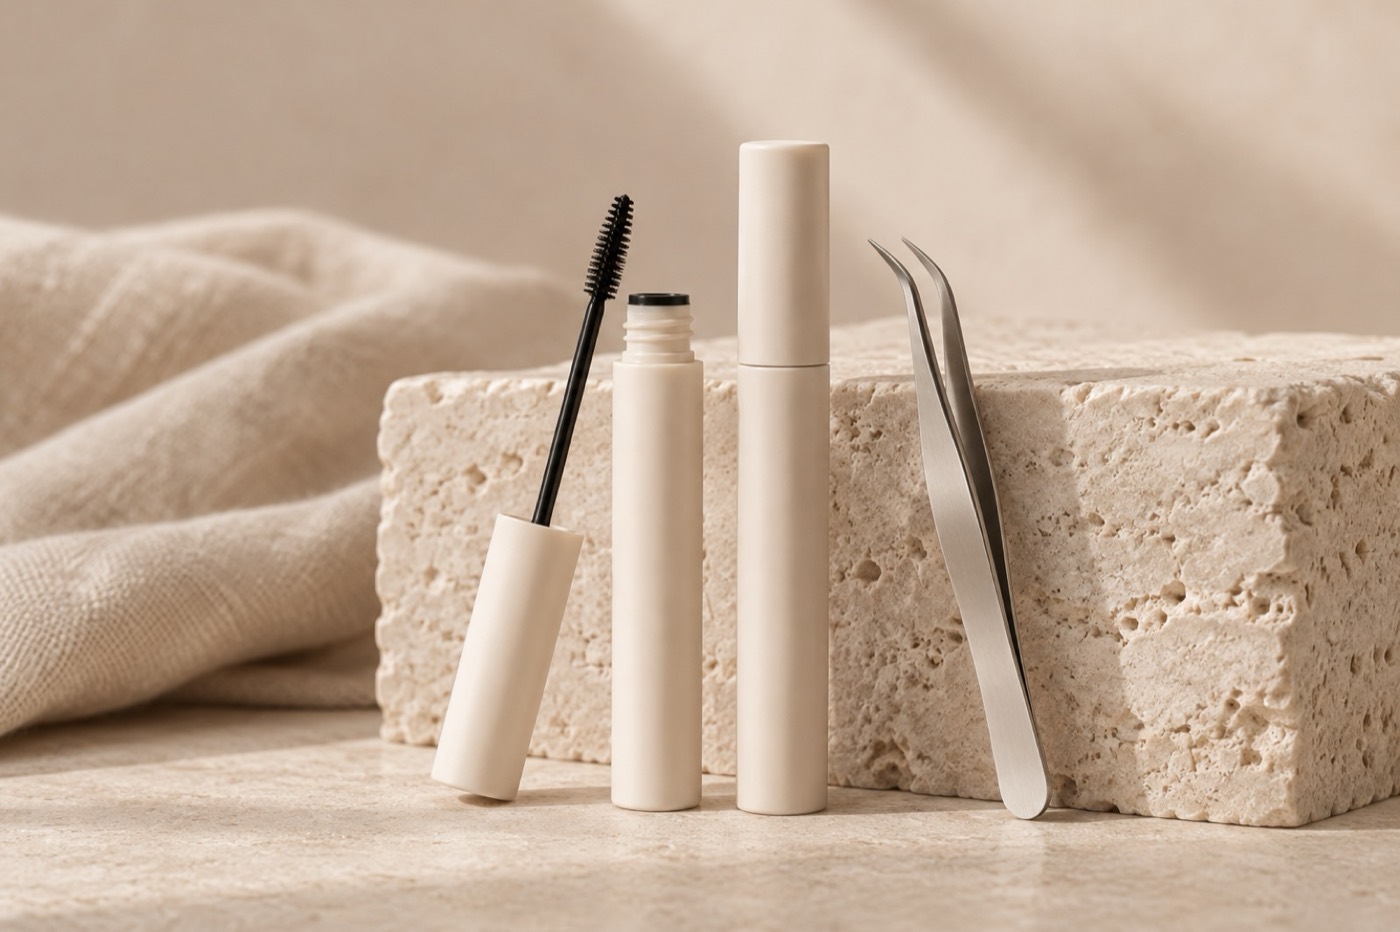
The six steps
 1
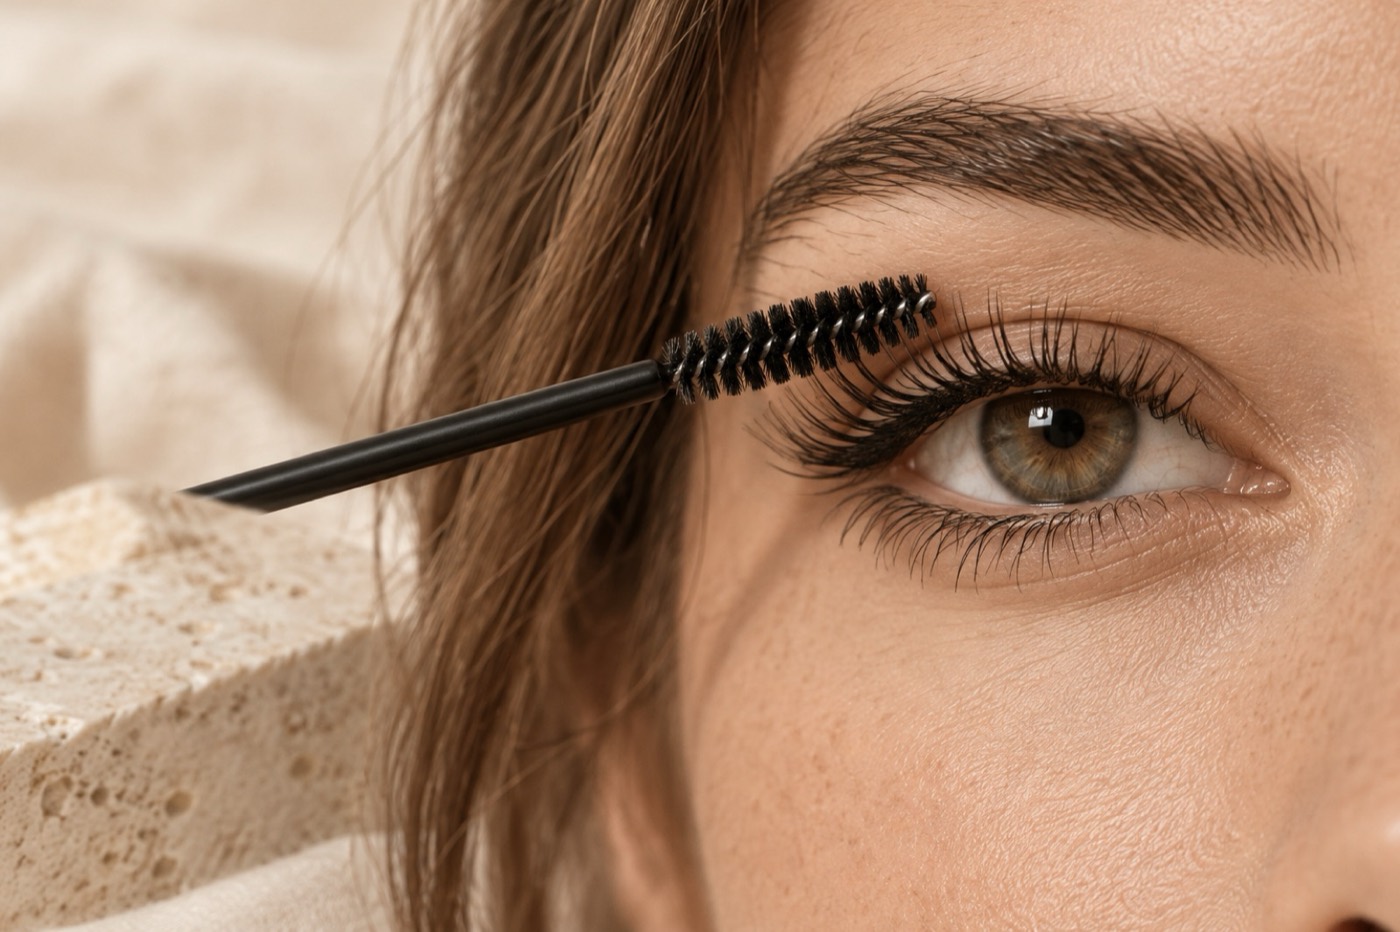
1Prep Your Lashes
Make sure your natural lashes are clean and free from oil, makeup and skincare. Brush them through with a clean spoolie.
 2
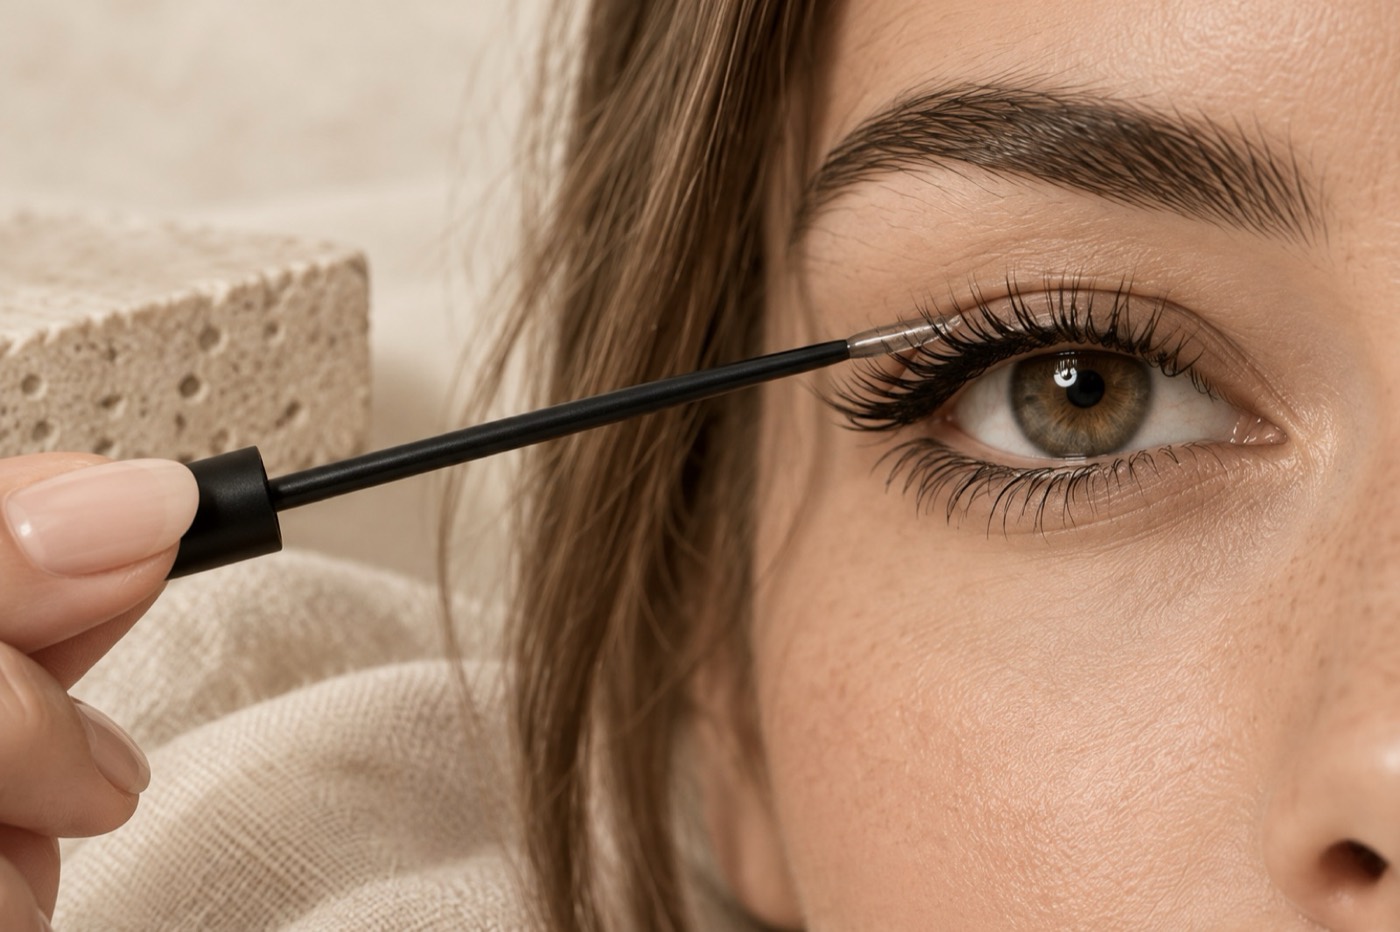
2Apply Bond
Brush a thin layer of bond onto your natural lashes, focusing on the base. Let it get slightly tacky, about 20 to 30 seconds.
 3
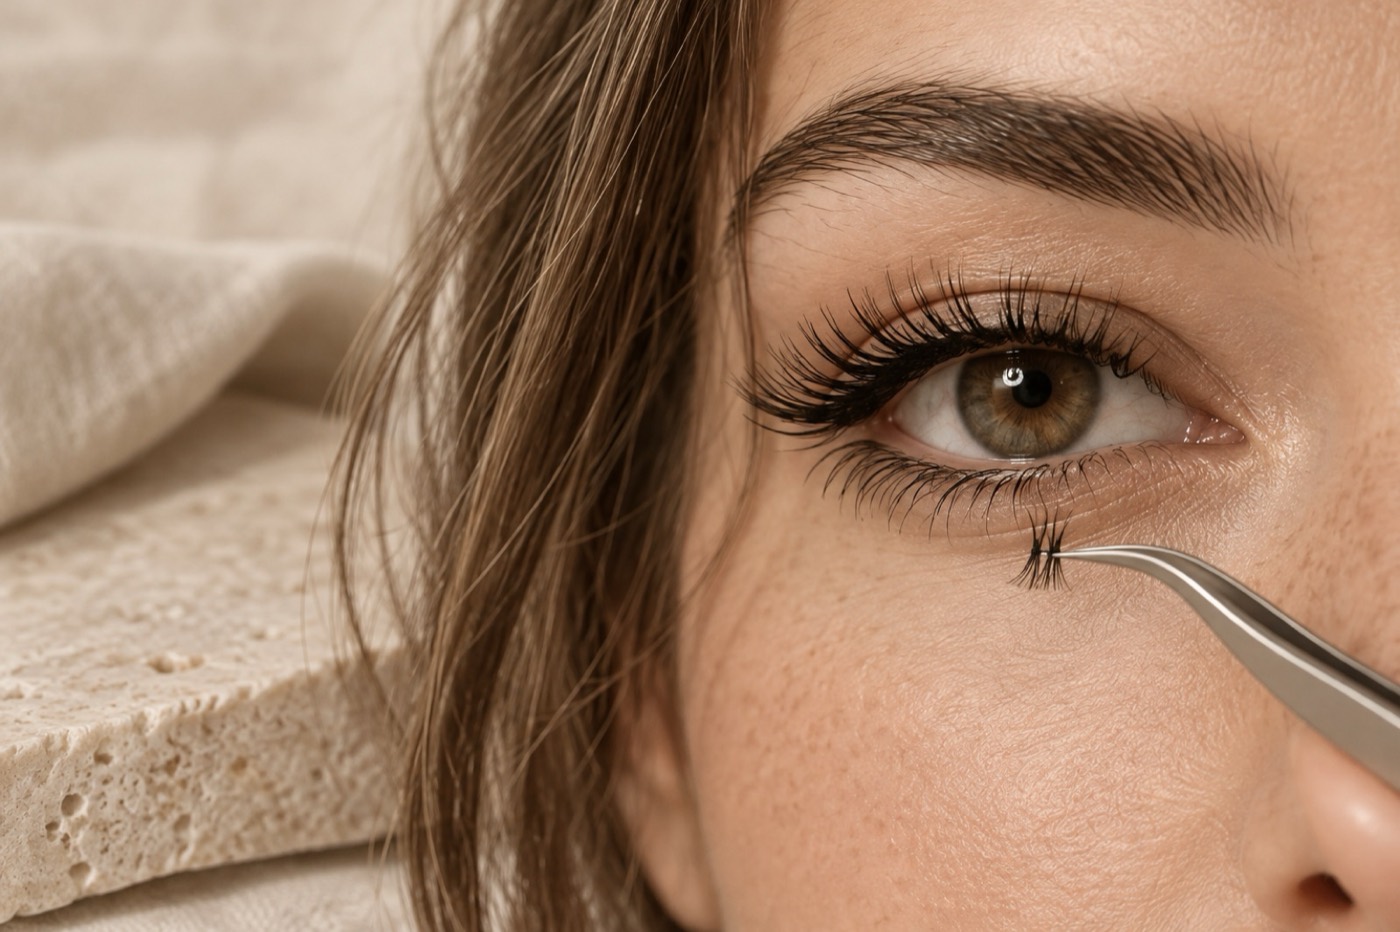
3Apply Lash Clusters
Using tweezers, gently place each cluster underneath your natural lashes, as close to the lash line as possible. Shorter lengths inside, longer toward the outer corner.
 4
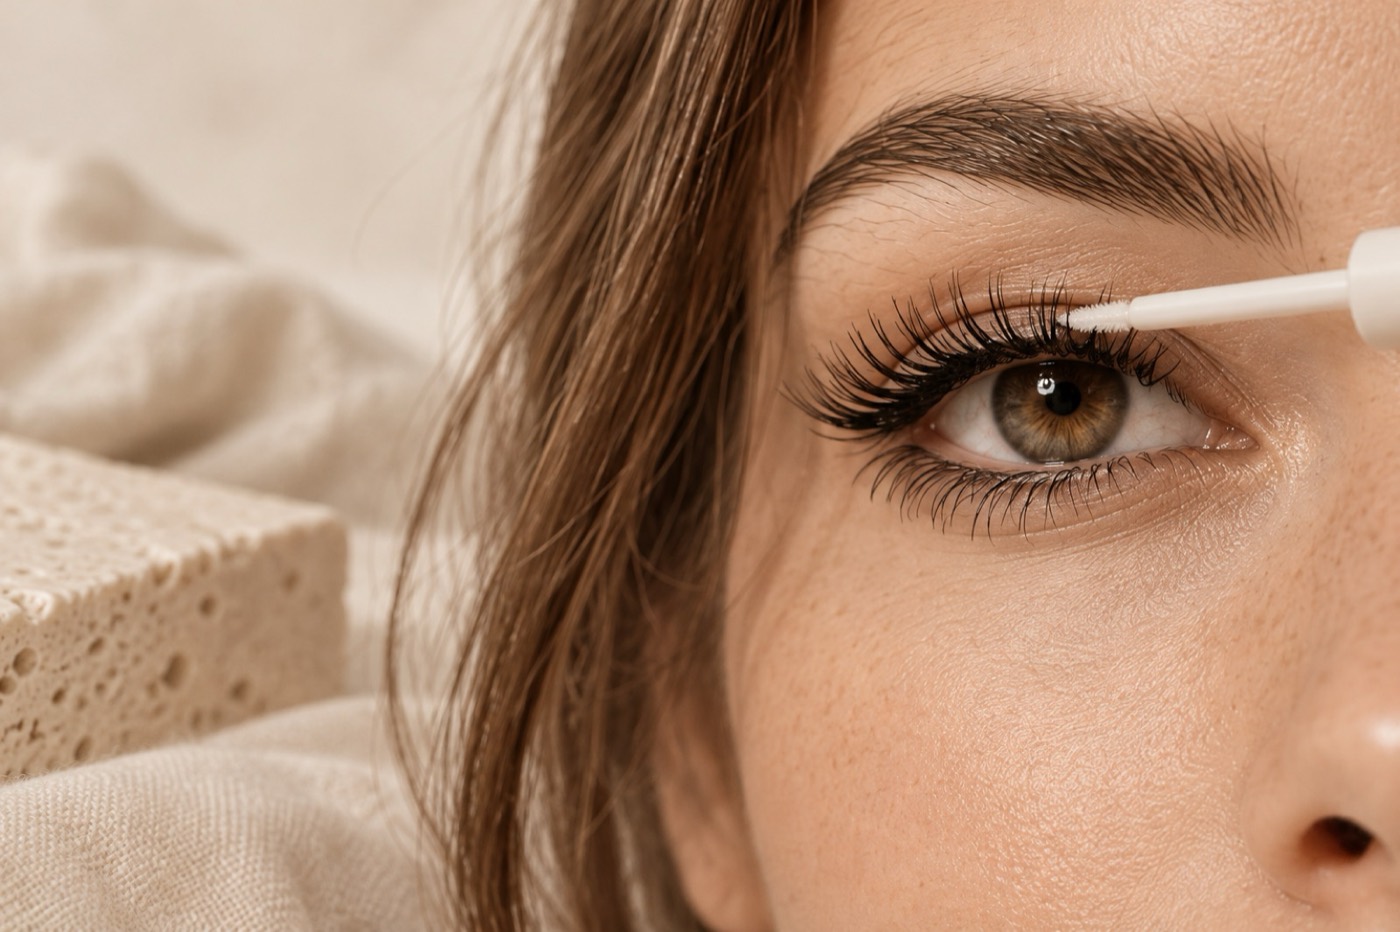
4Apply Seal
Once all clusters are in place, apply a thin layer of seal to lock everything in and remove any tackiness.
 5
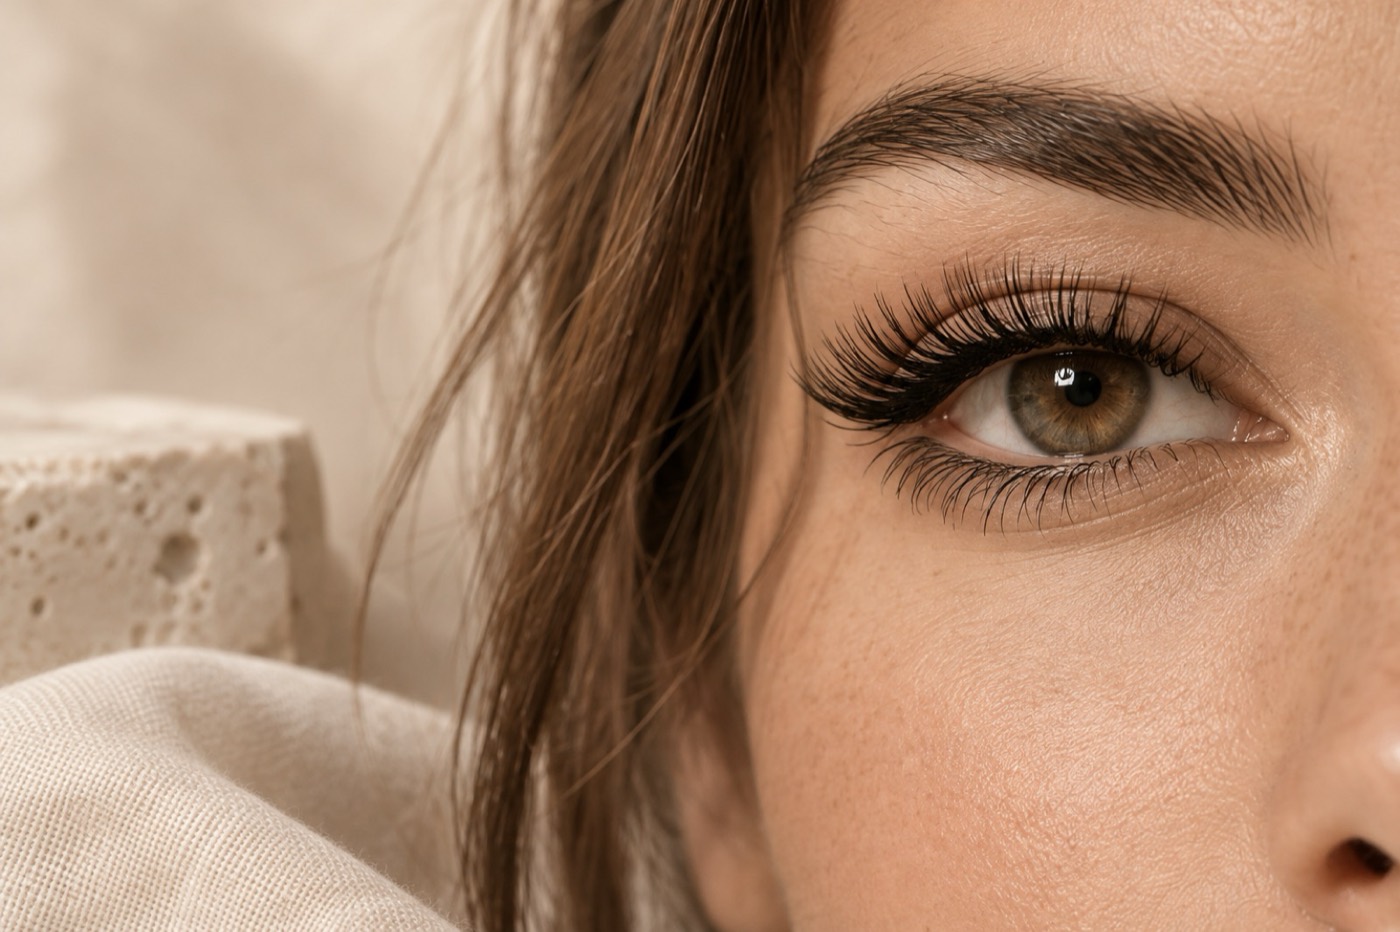
5Done
Enjoy your long-lasting lash look. With proper care, your clusters can stay in place for several days.
 6
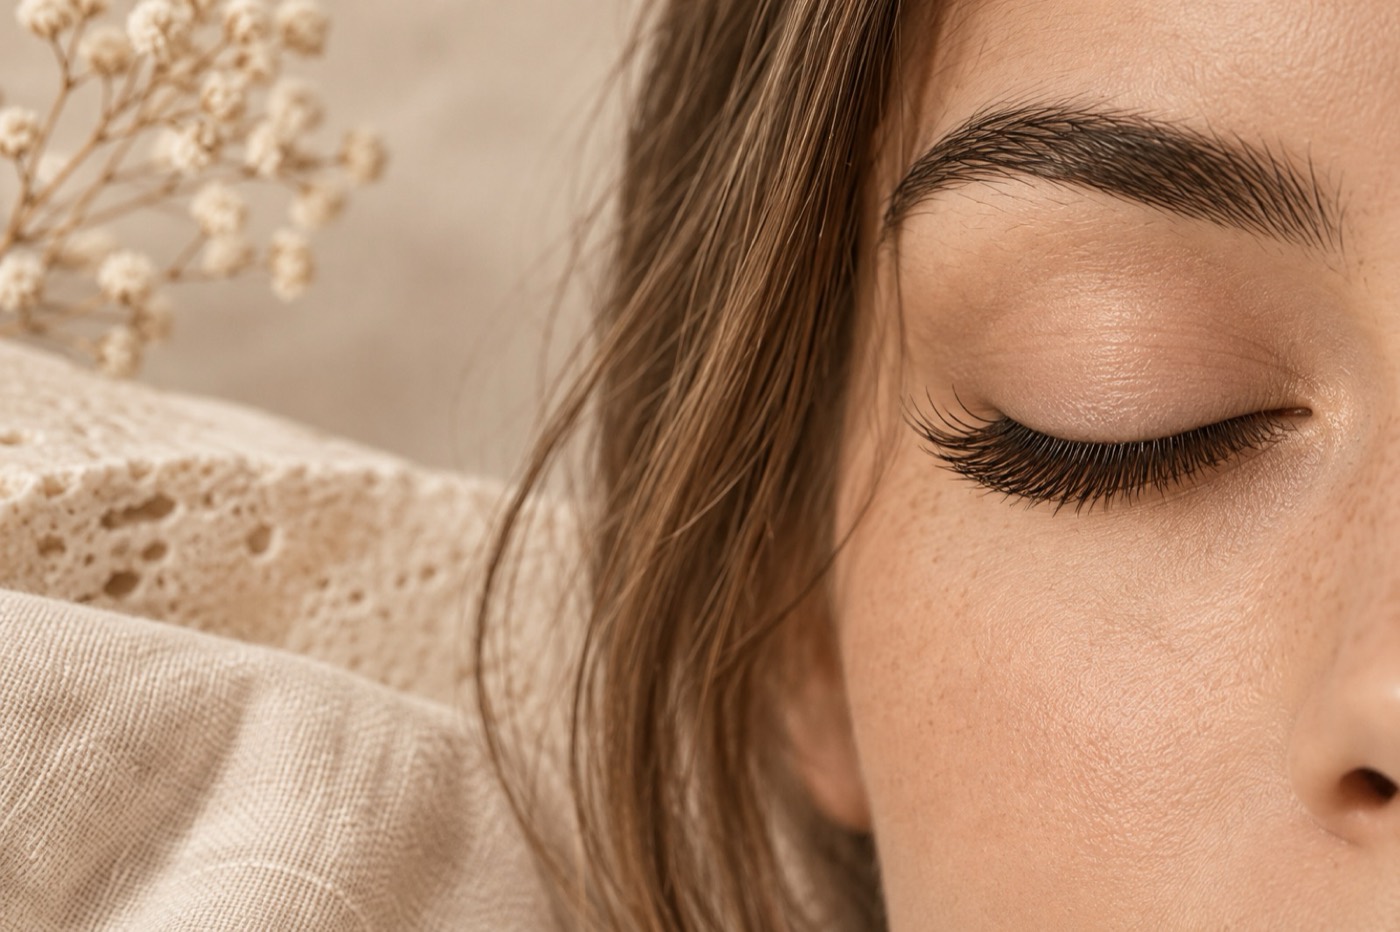
6Optional: Extra Hold
For added security, lightly apply another coat of seal at the tips where the cluster meets your lash.
A few tips
Make It Yours
Customise your look by using more clusters for a fuller effect or fewer for a natural, everyday style. With a little practice, you will find the look that works for you.
- Start with fewer clusters and build up.
- Keep bond and seal away from the waterline.
- Soften the bond with remover before taking clusters off. Never pull.